
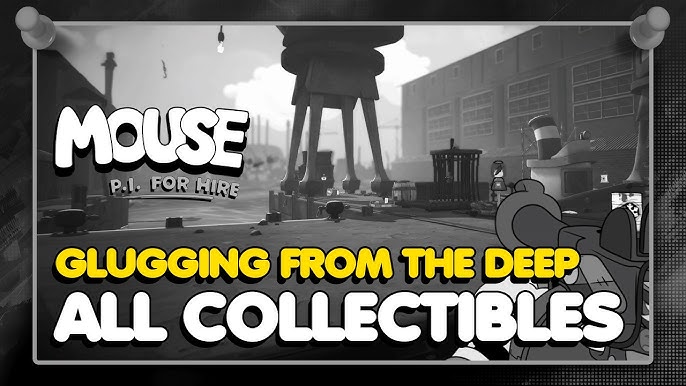
Welcome back to the rain-slicked streets and shadowy corners of the big city, fellow gumshoes. This time, our investigation is taking a turn for the aquatic. The case has led us to the water’s edge, and the clues we need are resting at the bottom of the bay. In Chapter 20, “Glugging From the Deep,” you’ll need to leave your trench coat on the pier, because we’re going for a swim. This isn’t your average paddle, though; you’ll be plumbing the depths in a full-on diving suit, facing down mechanical monstrosities, and uncovering secrets that were meant to stay submerged. So take a deep breath, and let’s dive in.
Main Objectives
Your primary goals in this underwater escapade are straightforward, but don’t let that fool you. The currents of this case run deep and dangerous.
- Find the scattered pieces of the Diving Gear.
- Explore the underwater depths of the bay.
- Survive the perils of deep-sea combat.
Step-by-Step Walkthrough
This mission is all about getting your feet wet, literally. The main challenge is assembling the diving suit, which has been conveniently scattered across the dockyards. You can’t proceed to the underwater section until you have all three parts: the Helmet, the Suit, and the Boots.
Part 1: Gearing Up for a Swim
You start on the creaking planks of the Wallop Bay pier at night. The air is thick with the smell of salt and suspicion. The area is crawling with Gatore’s goons, so have your trusty Boomstick or the Rat-a-Tat ready.
-
The Diving Helmet: Your first piece is located in the main dockside warehouse. You’ll need to find a way to the second floor. Look for a crane outside the building; you can use your Tail-a-Choppa ability to climb its chain and swing through an open window. The Helmet is sitting on a workbench, but be ready for an ambush as soon as you pick it up.
-
The Diving Boots: Next up, head toward the far end of the docks where the fishing boats are moored. There’s a small, dilapidated fisherman’s shack standing alone. The door is locked, but a true P.I. knows there’s always another way in. Circle around the back to find a pile of crates you can climb to access the roof. Drop in through the hole in the ceiling. The heavy lead Boots are on a table inside. Watch out for a couple of well-armed thugs waiting for you.
-
The Diving Suit: The final piece is the trickiest. It’s located in the captain’s quarters of a half-sunken tugboat just off the pier. You’ll need to perform a tricky series of jumps across floating debris to reach the boat’s deck. Once aboard, fight your way to the cabin. The Suit is hanging on a hook, but as soon as you grab it, the boat will lurch and you’ll have to make a hasty escape as more enemies appear on deck.
Part 2: Underwater Exploration
With all three pieces in hand, head to the large diving cage at the center of the pier. Interacting with it will automatically suit you up and lower you into the murky depths. The controls underwater are a bit floaty, as you’d expect. You have a slow, heavy jump and can use a limited-fuel shoulder charge to dash through the water.
Your goal down here is to find the entrance to a secret underwater lab. The path is fairly linear, but the darkness is your biggest enemy. Use the light from your helmet to navigate the rocky trenches and kelp forests. You’ll encounter new enemy types: robotic piranhas that charge at you and grumpy mechanical crabs that shoot projectiles. Your standard weapons work fine, but the slower pace of combat means you need to time your shots and dodges carefully.
Collectibles & Side Jobs
Even in the briny deep, a good detective keeps their eyes peeled for extras. The collectibles in this chapter are well-hidden, so be sure to explore every nook and cranny.
- Schematics: Check inside the sunken tugboat’s engine room before you leave; there’s a Schematic for a new weapon mod hidden behind a boiler.
- Newspaper: On the docks, look for a newspaper stand near the entrance to the warehouse. You can find a copy of “The Daily Squeak” there.
- Baseball Card: A local fisherman will offer you a side job to clear out some goons harassing him. Complete it, and he’ll reward you with a rare Baseball Card.
- Comic Book: Underwater, look for a hidden cave system off the main path. A Comic Book is tucked away in a small, air-filled pocket.
- Figurine: Near the end of the underwater section, you’ll see a giant anchor partially buried in the sand. The Figurine is resting on top of it.
Boss Fight Tips: The “Clam-p Crusher”
There isn’t a full-fledged boss in this chapter, but your journey is capped off by an encounter with a tough mini-boss: a giant, armored mechanical squid I like to call the “Clam-p Crusher.” It guards the entrance to the secret lab.
This fight is all about pattern recognition and using the environment. The Crusher has two main attacks:
- Tentacle Slam: It will raise a tentacle and slam it down, causing a shockwave. Use your shoulder charge to dash out of the way just before it hits.
- Ink Blast: It will shoot a volley of “ink”—which is actually explosive mines—that drift toward you. You can either shoot them out of the air or carefully navigate between them.
To damage the boss, you need to wait for it to expose its weak point. After a Tentacle Slam, the “eye” in the center of its body will glow red. That’s your cue to unload everything you’ve got. The fight takes place in a circular arena with some rock pillars. Use these for cover when you need to reload or recover. Stay patient, learn the rhythm, and you’ll crack this oversized calamari in no time.
Once the Crusher is defeated, the path forward is clear. You’ve survived the deep, and you’re one step closer to solving this whole mess. Good luck out there, detective.