
The high-level collectible count in MOUSE: P.I. For Hire sits at 215 total pickups and clue items. The important SEO-sized answer is simpler than that: the shop only patches some mistakes. If you miss a schematic, secret figurine, or a side-job reward collectible, you should assume that save can no longer become a clean 100% file.
The collectible categories
Current collectible routing tracks six buckets:
- Newspapers
- Baseball Cards
- Comics
- Secret Figurines
- Schematics
- Optional Clues
If you only need the counts and missable rules, the shorter all collectibles guide is the better quick read. This page is for chapter routing.
What the shop can and cannot fix
Usually recoverable
- Newspapers
- Comics
- Many Baseball Cards
Do not rely on recovery
- Schematics
- Secret Figurines
- Baseball Cards tied to missed side jobs
- Anything left behind once you lose shop access near the end
That is why the safest run uses both manual saves and a mission-by-mission checklist.
Chapter 1: Big Mouse, Little Hope
The opening is short, but it still hides early missable value.
- Comic 1: after the spinning-floor room, turn back toward the counter and crawl through the open vent.
- Comic 2: after the escape down the elevator shaft, go up the nearby stairs and grab it from the floor above.
- Schematic 1: directly after Comic 2, check the adjacent room safe.
Chapter 2: The Vanishing Act
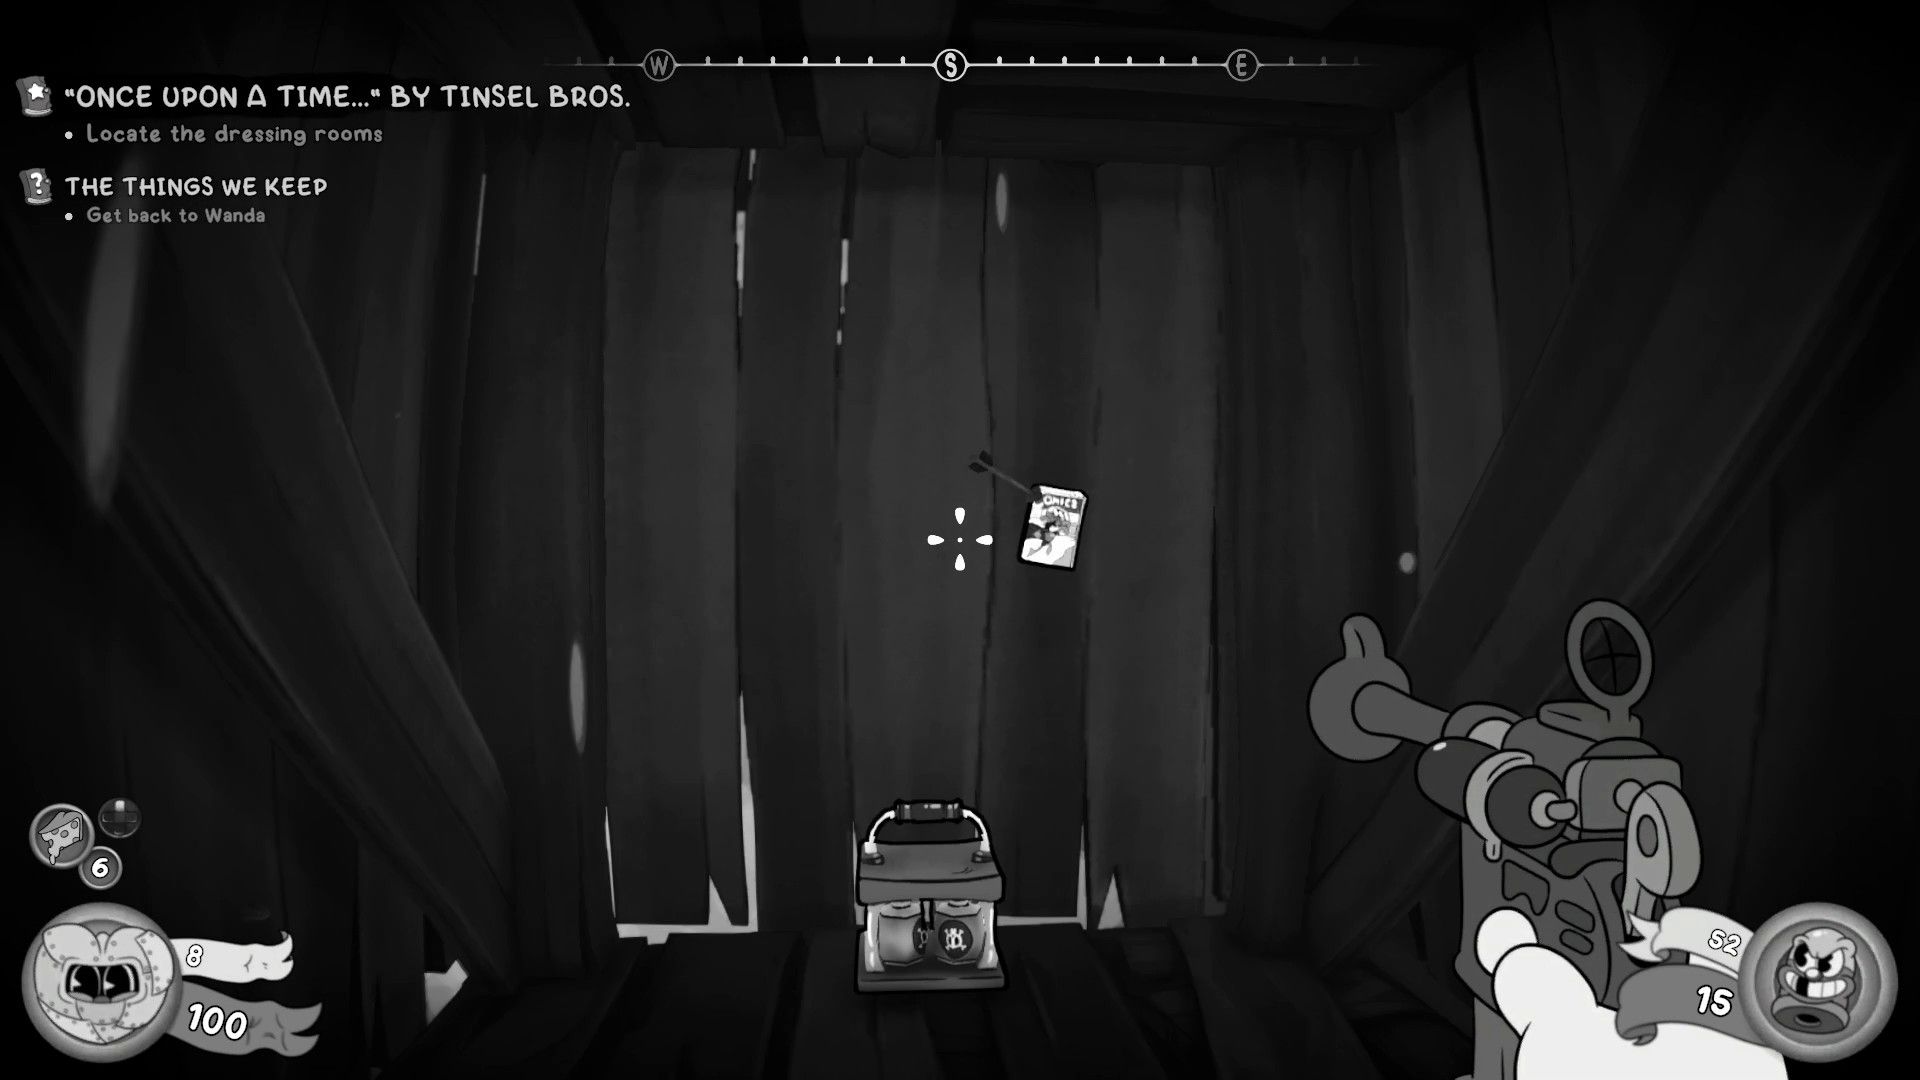
This is where the collectible density starts to jump.
- Newspaper 1: open locker after the P.I. badge check.
- Comic 3: backstage theater area after opening the curtain.
- Optional Clue 1: photograph Steve Bandel’s poster in the green room.
- Baseball Card 1: upstairs after the first enemy encounter.
- Baseball Card 2: balcony apartment route in the multi-story building.
- Schematic 2: inside the loft-key apartment room.
- Comic 4: park bench after leaving the apartment building.
- Schematics 3, 4, and 5: subway section around the first save point, train arrival, and bathroom under the stairs.
- Newspaper 2: Betty Deux-Fiddle’s apartment kitchen.
- Secret Figurine 1: basement behind the kitchen in the Little & Big Bar.
- Baseball Card 3: Jack’s bedroom dresser in the P.I. Office.
Chapter 3: Gumshoe in the Opera
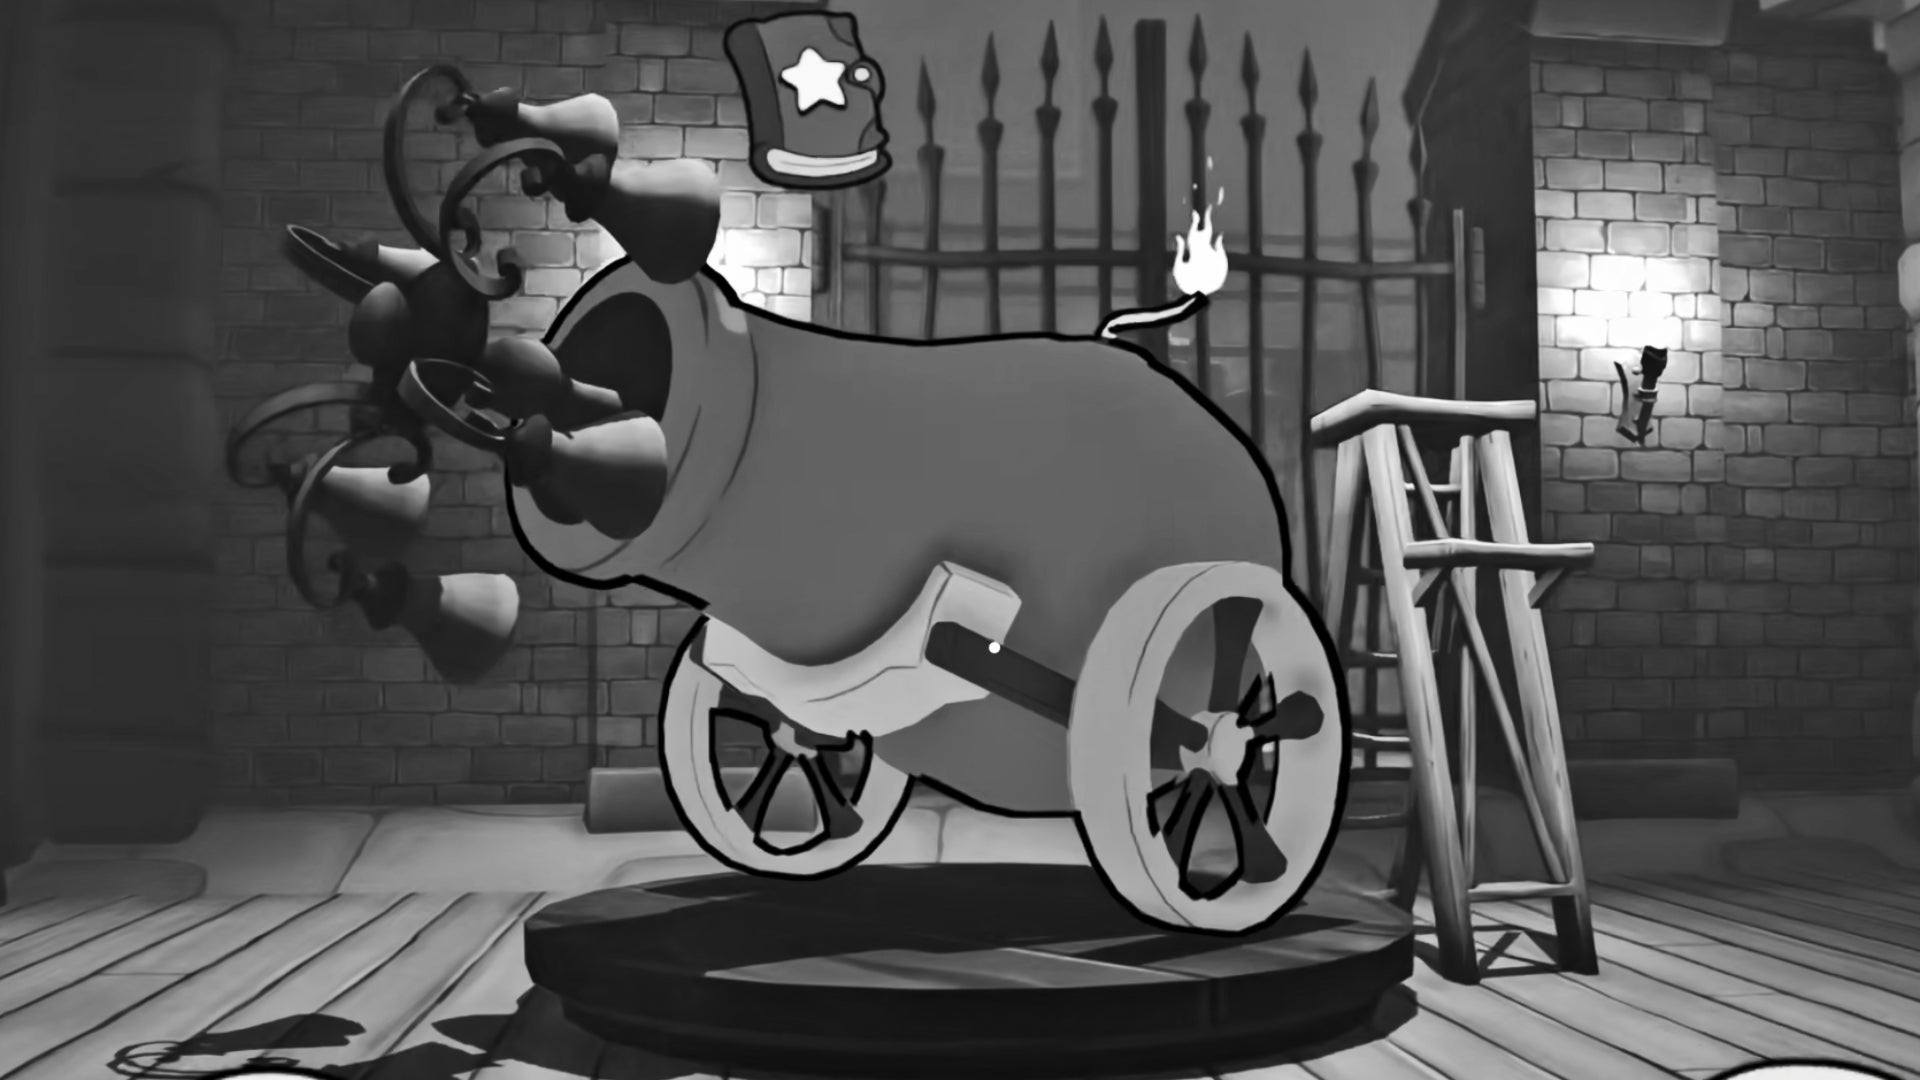
The Opera chapter mixes vertical movement, clue photos, and late backtracking after your new traversal unlock.
- Schematic 6: on top of the ventilation unit near the mission start.
- Newspaper 3: table immediately inside after entering the building.
- Optional Clue 2: photograph the double-door kitchen area.
- Baseball Card 4: behind the breakable wall after the tailpick door.
- Comic 5: under the plank ramp after blowing the wall.
- Newspaper 4: beside the Old Rat Stuntman.
- Baseball Card 5: backtrack with double-jump to the earlier high ledge.
- Schematics 7 and 8: the water platform route near the movement unlock.
- Comic 6: side hallway during the burning escape sequence.
- Newspaper 5: buy it from the Paperboy after returning to the office.
Best collectible habits for a clean save
Keep separate manual saves
The shop is a safety valve, not a cure. Separate saves are what protect schematic mistakes.
Clear side jobs before trusting the shop
Some collectible rewards are tied to optional quests rather than level pickups. The shop cannot patch a side job you never accepted.
Use chapter routing, not memory
Once the campaign pace picks up, trying to remember “I think there was a card in that room” is how runs break.