
MOUSE: P.I. For Hire gives Jack Pepper a full combat toolkit, but the first important decision is not which gun feels coolest. It is which gun solves the most problems per schematic. For most players, that means building around the Boomstick, James Gun, Devarnisher, and Portable Freezer before spending big on niche upgrades.
How weapon upgrades work
Every primary weapon feeds into the B.A.N.G. machine. The pattern is simple:
- Tier 1 usually unlocks the weapon’s alt-fire and is the biggest jump in utility.
- Tier 2 and Tier 3 mainly improve damage, ammo economy, clip size, spread, or recoil.
- Schematics are limited enough early that broad Tier 1 coverage is usually stronger than rushing one gun to Tier 3.
If you are still deciding where to spend your first schematics, read the dedicated best B.A.N.G. upgrades guide after this page.
Best weapons first
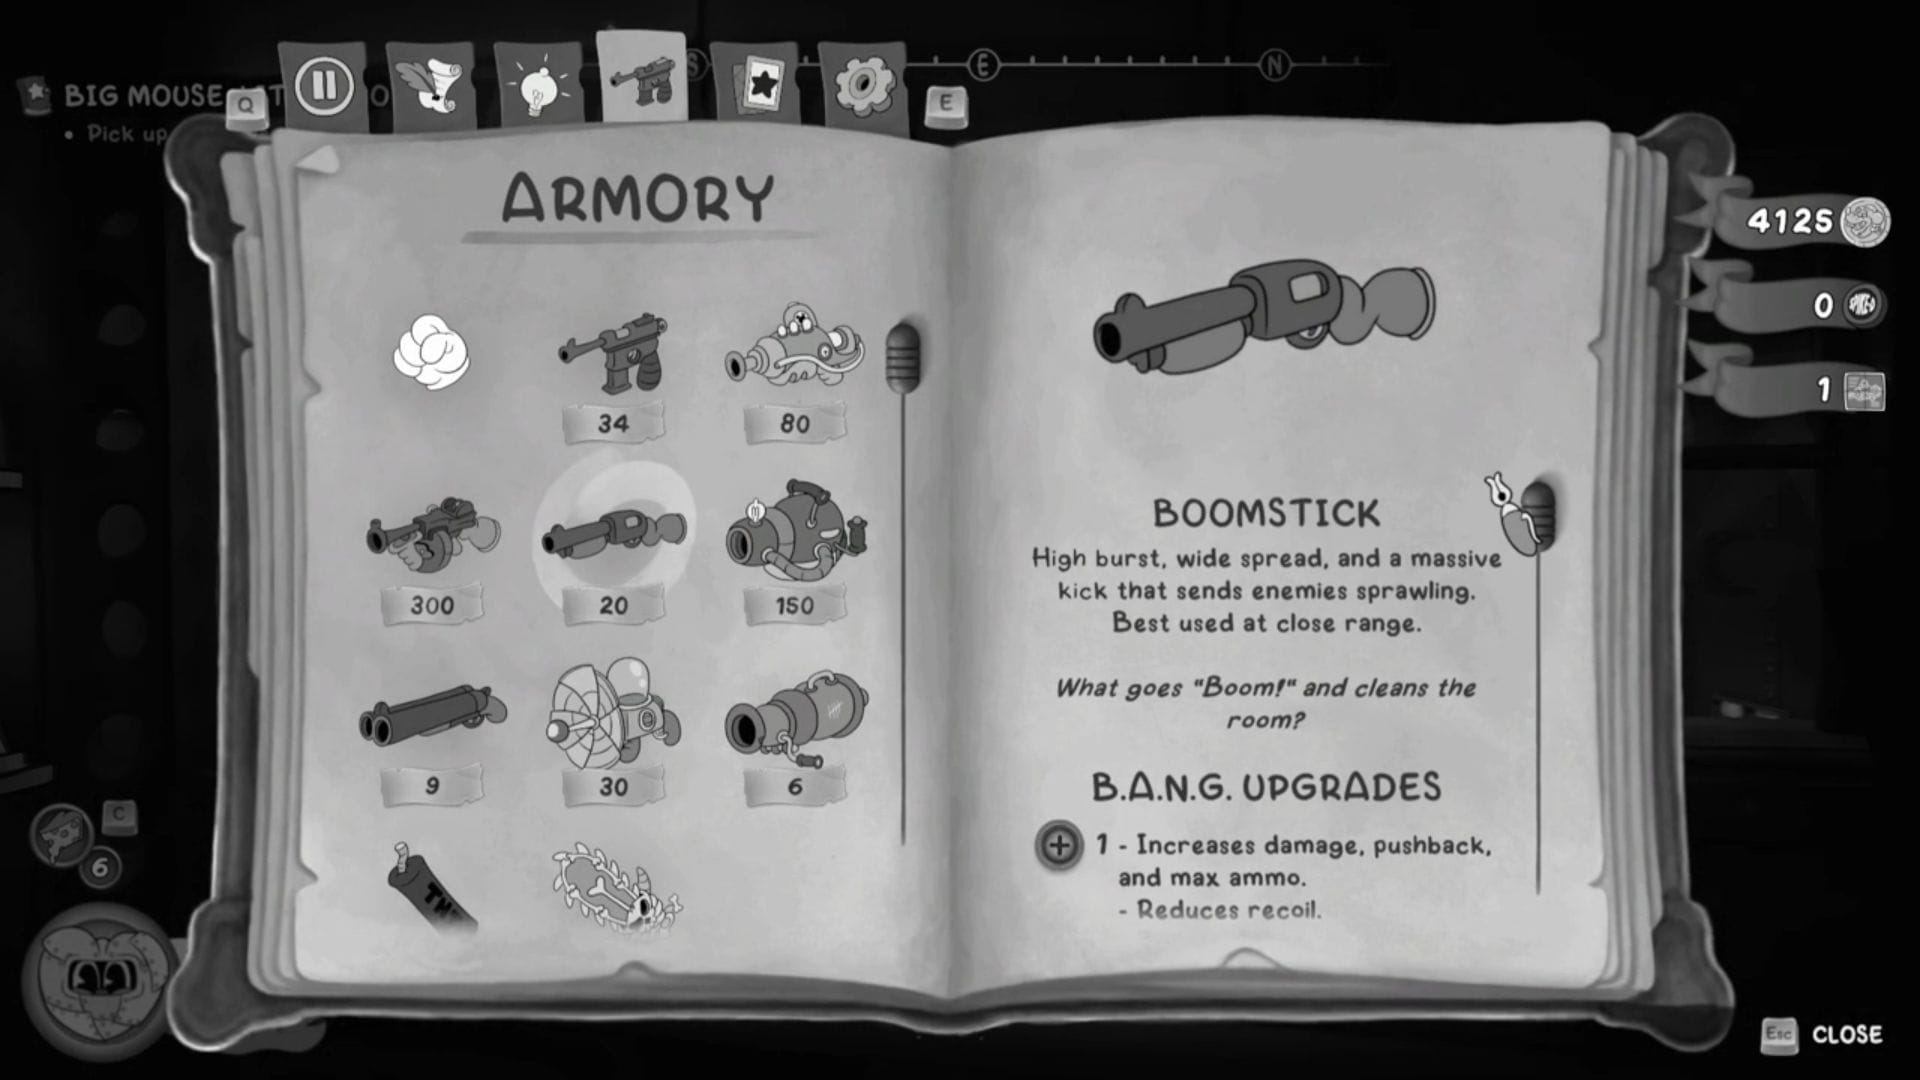
Boomstick
The Boomstick is the easiest weapon to trust through most of the campaign. It dominates close range, punishes rushers, and keeps crowded fights under control.
- Why it matters: strong pushback, reliable burst damage, and the best panic answer when enemies collapse your space.
- Best upgrade breakpoint: Tier 2. The larger clip changes the rhythm of fights more than most passive upgrades in the game.
- Best use case: shield pressure, chokepoints, and any boss or elite that forces close-range movement.
James Gun
The James Gun is your mid-range workhorse. It is the most forgiving sustained-fire option once the arena gets messy.
- Why it matters: stable pressure on moving targets and good stagger value on regular enemies.
- Best upgrade breakpoint: Tier 1 for the bullet-dump alt-fire.
- Best use case: finishing acid-tagged bosses, suppressing groups, and shredding enemies that do not quite justify heavy ammo.
Devarnisher
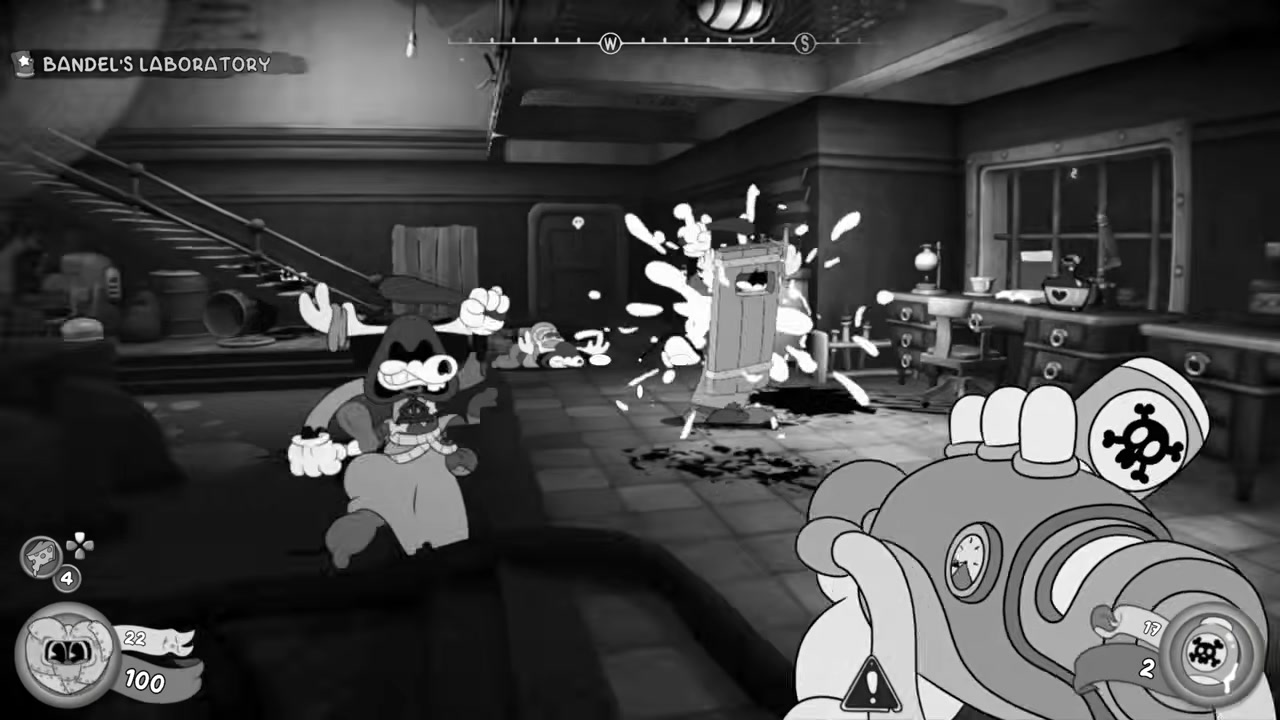
The Devarnisher is the cleanest boss weapon because it lets you deal damage while repositioning.
- Why it matters: damage over time lowers the risk in longer fights.
- Best upgrade breakpoint: Tier 1. The sticky acid blob is the reason to prioritize this weapon.
- Best use case: bosses, bulky targets, and any fight where staying alive matters more than face-tanking for raw DPS.
Portable Freezer
The Portable Freezer is not the highest-DPS tool, but it is one of the most valuable control weapons in the game.
- Why it matters: turns messy fights into manageable ones.
- Best upgrade breakpoint: Tier 1 for the explosive icicle.
- Best use case: enemy packs, arena resets, and late-game encounters that throw pressure from multiple angles.
Full weapon list
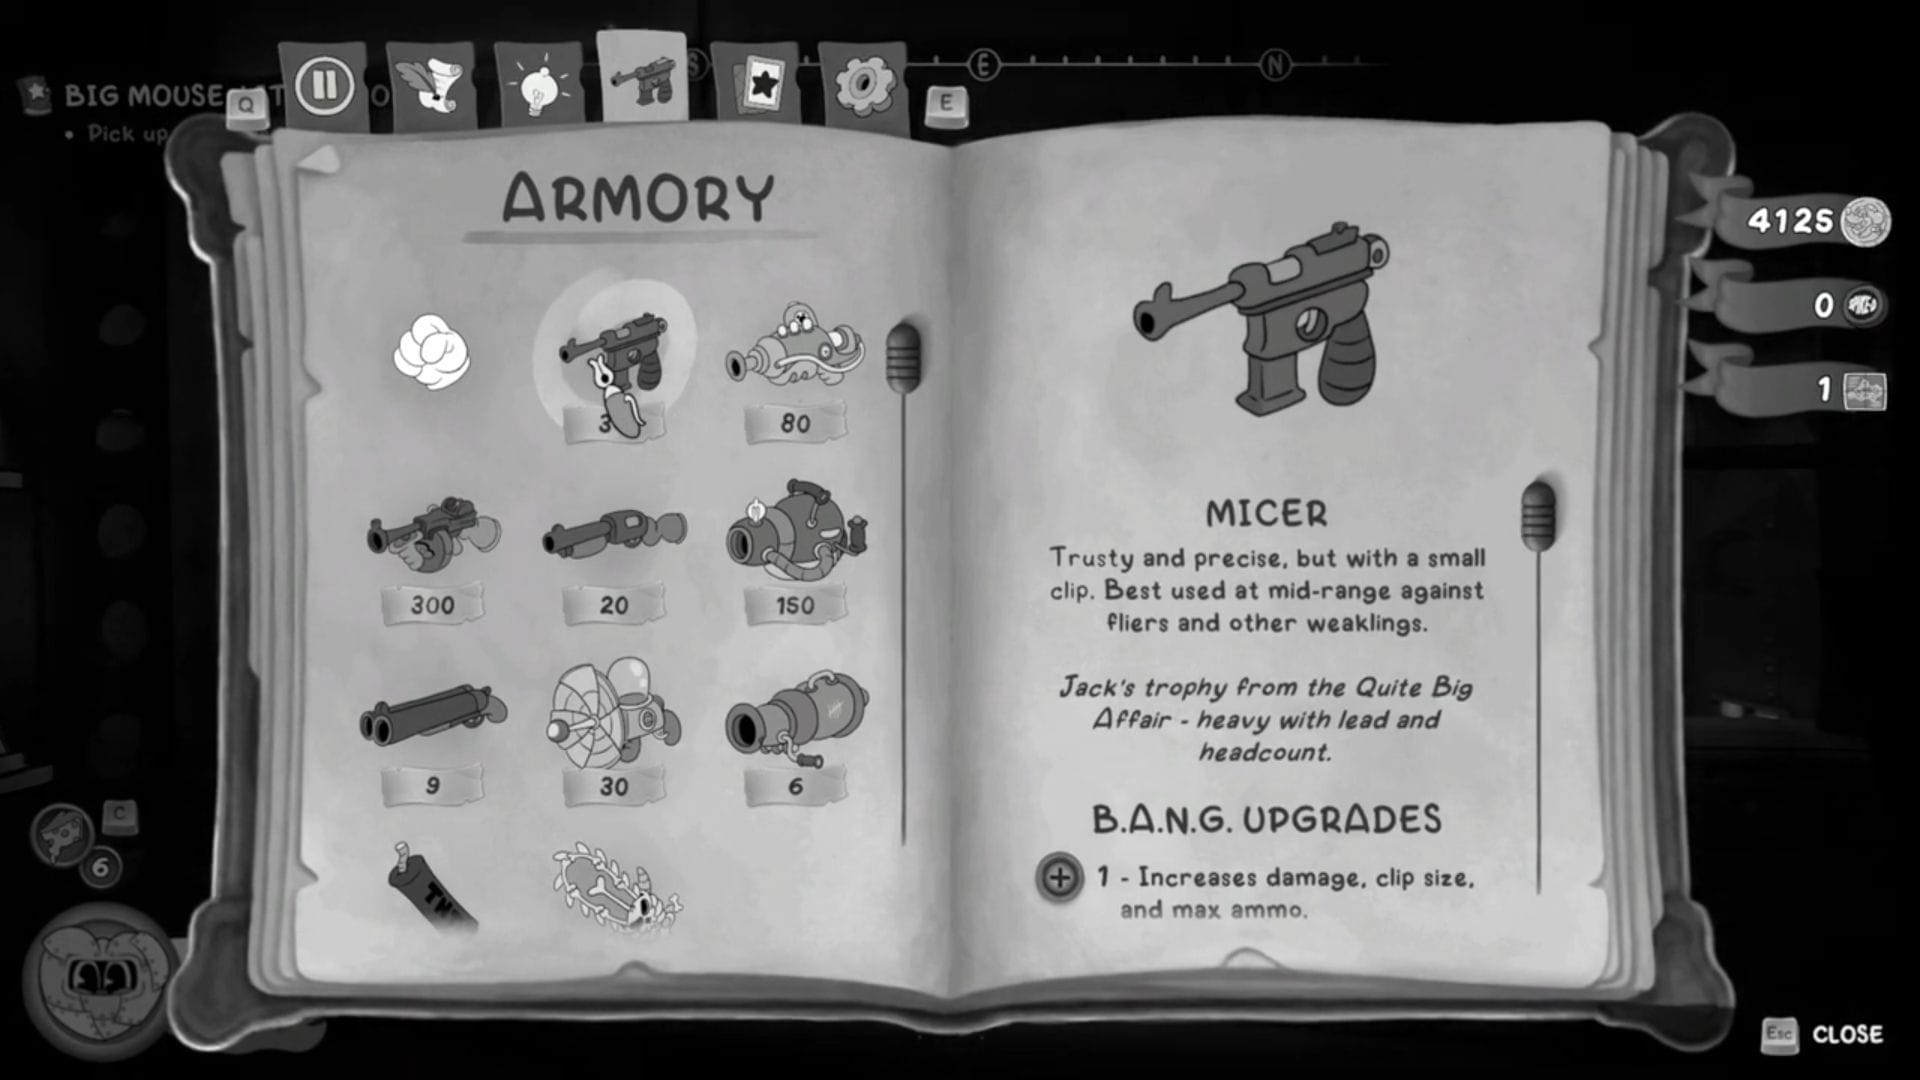
Micer

Jack’s starter pistol stays relevant longer than expected because it is ammo-efficient and accurate.
- Role: reliable sidearm and precision cleanup.
- Tier 1: unlocks a triple-shot alt-fire that rewards accurate headshots.
- Verdict: not your highest priority, but a good early Tier 1 if you lean on precision and want to save heavier ammo.
Boomstick
- Role: close-range burst and crowd control.
- Tier 1: charged alt-fire for heavier single-target pressure.
- Tier 2: the major breakpoint because the larger clip makes the weapon far more flexible.
- Verdict: one of the safest first investments in the game.
James Gun
- Role: mid-range bullet pressure.
- Tier 1: rapid bullet-dump alt-fire.
- Verdict: a strong early Tier 1 because it smooths out general combat without requiring perfect aim.
Devarnisher
- Role: damage over time and boss pressure.
- Tier 1: sticky acid alt-fire with area damage.
- Verdict: one of the best value upgrades for boss-heavy stretches.
Portable Freezer
- Role: freeze, stall, and reset chaotic fights.
- Tier 1: explosive icicle that applies frost in an area.
- Verdict: not flashy in raw DPS terms, but excellent for safer clears.
Kiss Kiss
- Role: splash damage and room clearing.
- Tier 1: heavier explosive alt-fire.
- Verdict: very strong once you have spare schematics, but the earlier core weapons usually give better value first.
Jar-Head
- Role: stun and control.
- Tier 1: concentrated beam that is strongest when you can line up precision damage.
- Verdict: useful, but rarely the best first schematic sink unless a specific encounter is giving you trouble.
Loose Cannon
- Role: explosive heavy weapon and secret-wall utility.
- Tier 1: scatter-style alt-fire.
- Verdict: more important for environmental access and burst than for general combat consistency.
D-Namite
- Role: throwable explosive for shields, groups, and environmental destruction.
- Verdict: not part of the B.A.N.G. upgrade path, but always worth keeping in reserve.
Hellrazor
- Role: high-risk melee shredding.
- Verdict: powerful in the right range window, but too situational to build your route around.
X-1 Demousifier
- Role: rare, high-value energy damage.
- Verdict: excellent when available, but too limited to define your long-term upgrade order.
Fists
- Role: utility, challenge cleanup, and style points.
- Verdict: use them when the game asks, not as your core plan.
Best upgrade order for most players
- Boomstick to Tier 2.
- James Gun to Tier 1.
- Devarnisher to Tier 1.
- Portable Freezer to Tier 1.
- Micer to Tier 1 if you like precision, or save for a later power weapon.
That route gives you a strong answer for the three combat questions that matter most:
- What stops rushdown? Boomstick.
- What wins longer boss fights? Devarnisher.
- What fixes bad arena control? Portable Freezer.
When to upgrade for utility instead of damage
Do not read every weapon purely as a DPS problem. Some upgrades matter because they solve routing or survival problems:
- Loose Cannon matters if you are cleaning up hidden walls and secrets.
- Portable Freezer matters if your deaths come from loss of control, not lack of damage.
- Micer matters if you want a cheap, accurate fallback that preserves heavy ammo.